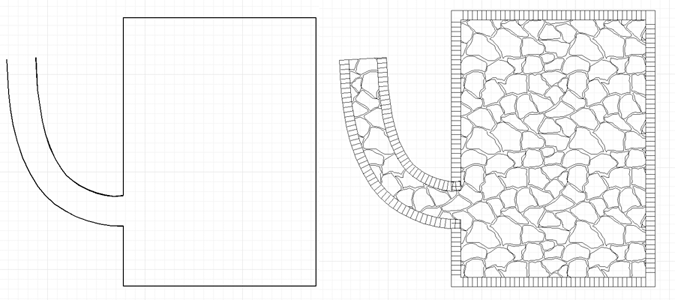
There are a couple methods to add a soldier course around a paver area. In the posting we are going to use the Paver Edge and Create Paver From Edges tools to add a soldier course to a paver area. These tools were added in version 17 and 18.
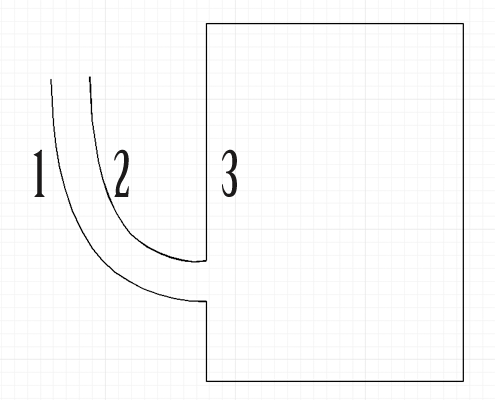
First, we draw in the framework for the area using the Draw >> Paver >> Edge tool. After selecting the Paver Edge tool, we select the line type as a Open Spline Curve and draw curve #1 as shown below. We can either draw another parallel curve or use the Draw >> Paver >> Offset Edge tool and set the Offset Distance in the Edit Bar to 3′ which will be the paver path width. Next, we selected the Paver Edge tool again but this time select the Polyline type and basically draw the #3 rectangle which gaps and the end of curve #1 and #2. Don’t worry that there is a gap on the upper edge between line #1 and #2.

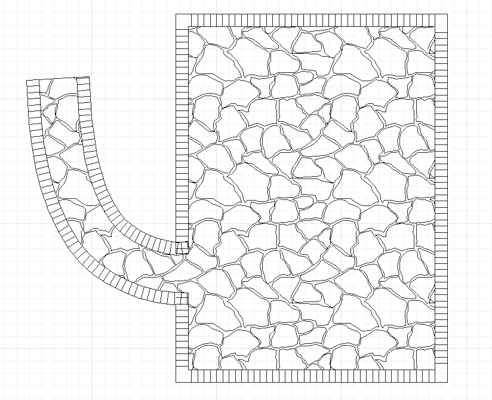
Next, we need to convert to a paver area and add the soldier course. Select Draw >> Pavers >> Create Paver From Edges Tool. At this point it is important to change a couple setting in the EDIT BAR. First, check ADD EDGING option and change the dropdown from NONE to ALL SIDES and the Soldier Course Distance to 0′ 6″. Next, we move the cursor to the drawing and click on Curve #1, Curve #2 and Polyline #3.

Once we have all clicked, we right click and the soldier course is applied and the paver is created. A couple things to note here. First, on the gap area at the top of curve #1 and #2 did not have a soldier course applied since there was no edge there previously. Also, when we previously set 0′ 6″ in the Edit Bar this affects the spacing of the perpendicular lines which represent the brick morter lines on the soldier course and the value of 1′ 0″ as the soldier course distance is the width of the soldier course around the paver perimeter.


